Road to California introduced three quilt challenges for their 2021 Quilt Show that was cancelled due to COVID-19 pandemic restrictions.
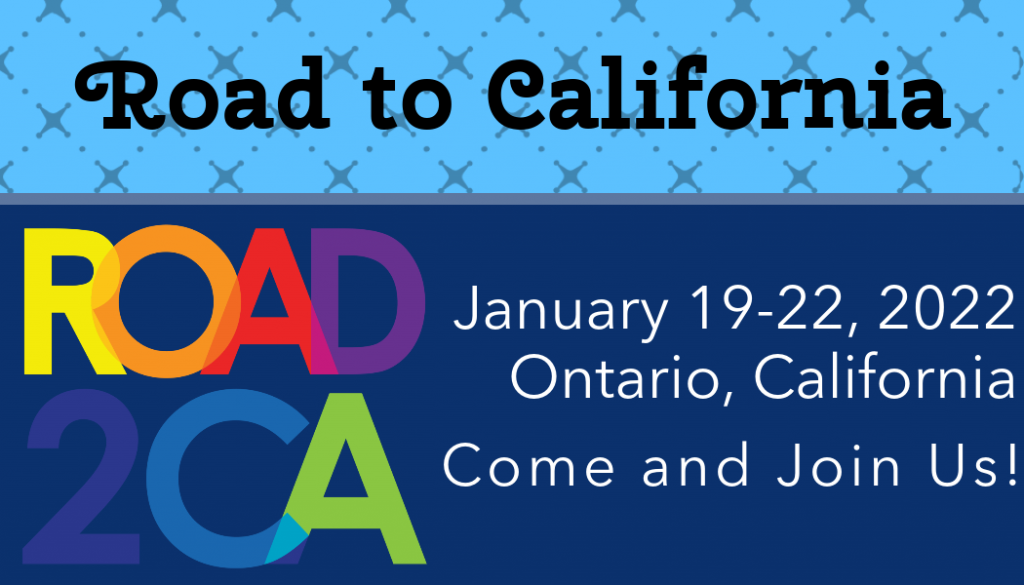
Now that In Person Road to California is on track for January 19 – 22, 2022, Road has decided to bring back those same three challenges for the upcoming show. The 2022 Quilt Challenges that will be offered at Road to California 2022 are:
Conspiracy Theory Quilt Challenge
Do you have a favorite Conspiracy Theory? Maybe it involves the loch ness monster or aliens in Area 51. What Conspiracy Theory could you turn in to a winning quilt for this entry of the 2022 Quilt Challenges?
The goal of this quilt challenge is to poke fun at conspiracy theories surrounding civilization. Political conspiracy theories should be treated lightly. Quilts must be appropriate for viewing by all ages and sensitives.
Entry Sizing and Construction: 30” x 30” with a 4” finished sleeve on the top back of the quilt, securely stitched on top and bottom edges.
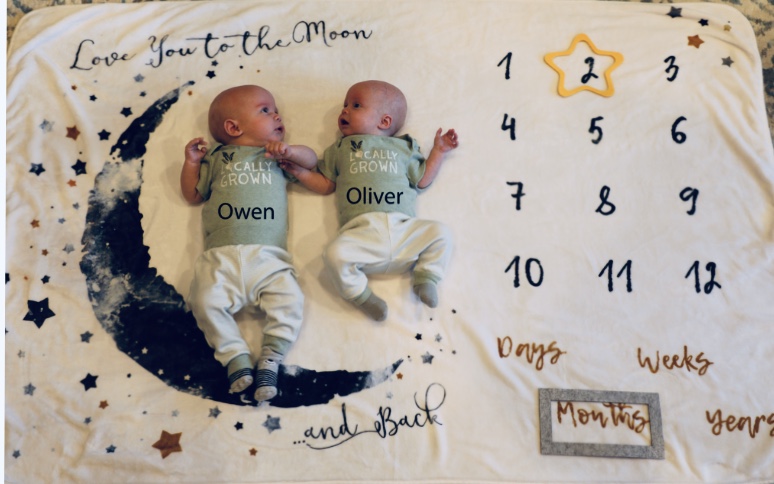
Twins Quilt Challenge
In honor of Road to California’s owner, Matt Reese, and his wife, Jennifer, who had twin sons born to them during the pandemic on April 14, 2020, Road is celebrating this momentous occasion with a Twins Quilt Challenge. The interpretation of this challenge is purposely being left wide open so makers and quilters can come up with their own creative ideas.
Entry Sizing and Construction: Quilts cannot be larger than 60” x 60”. Quilts may be two pieces, so long as they are joined to create a single piece by black fabric.
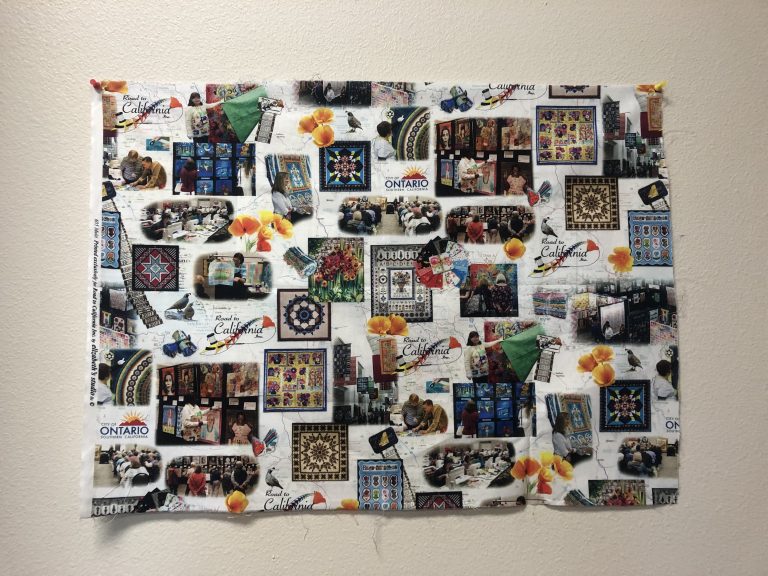
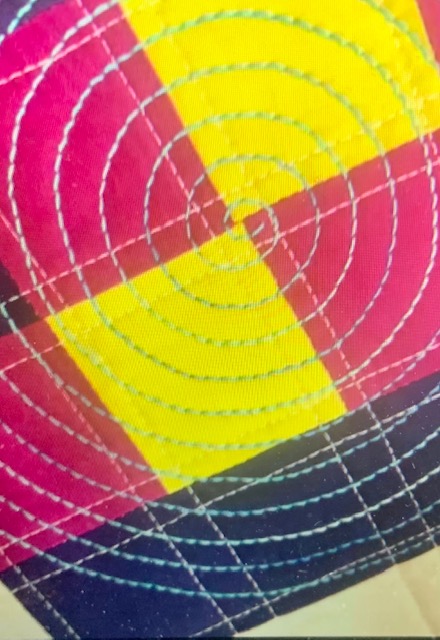
Road to California Souvenir Fabric Challenge
To celebrate Road’s 25th Anniversary at Road to California 2020, a special commemorative fabric was created. This challenge incorporates use of at least 50% or Road’s anniversary fabric in a quilt, bag or garment design.
If you didn’t get the fabric at our 25th Anniversary Show, it will be available on our website for purchase.

General Quilt Contest Rules Also Apply
In addition to the specific rules for a particular quilt challenge, all of Road to California’s quilt contest general rules also apply:
Design Rules: Quilts cannot be made from a kit, however, commercial patterns can be used so long as they follow Road to California Inc.’s Statement of Copyright.
Entrant Requirements: Quilt for hire arrangements are acceptable for this challenge, given both parties are listed on the entry form. The person entering the quilt must have been a direct participant in creating the quilt. Entrants can submit an unlimited number of entries.
Photo/Image Permission: Entry into the exhibition automatically grants permission for the image of the quilt and/or all or part of the Artist’s Statement about the quilt to be used in articles, ads, promotions, catalogs, books, magazines, websites (including any webcast coverage), blogs, CDs, news coverage, television, online and/or multimedia productions for and about this exhibit, Road to California, Inc. and its subsequent shows, or for and about quilting and developing creativity. The quilt artist retains copyright to the quilt and will be credited in any usage. No compensation will be granted to the entrant and/or copyright holder for use of the quilts image on any promotional products.
Quilt Challenge Deadlines
Rules for all three 2022 Quilt Challenges were posted to our website on July 1, 2021.
Completed quilt contest submissions with photos must be received online by midnight, October 1, 2021.
Accepted entries for each challenge will be notified no later than November 30, 2021.
Good luck and have fun!!!