Gregory Case was Road’s Official Photographer for 4 years. He often got requests for advice from quilt/textile/fiber artists who were trying to improve their photography of their design work. Gregory offered seven suggestions for photographing quilts:
1) Prepare for your photo shoot. Professional quilt photography is a combination of your quilt hung properly, a good digital camera, appropriate camera settings (including “white balance/color” settings), use of a tripod, even and consistent lighting, and the use of image-editing software. If you are not using all of these techniques, you are not helping your quilt photography succeed.
2) Allow the time necessary to take a great picture. More people will probably see the photograph of your quilt than they will see your quilt in person. Thus, take the same care you do with your photography as you do with your quilt design and choice of quilter. Plan at least an hour (or more realistically, two hours) per quilt for photography/image-editing.
Katie Pasquini Masopust
3) Photograph the “whole” quilt. The top four quilt photography problems are getting the color right, properly lighting your quilt, showing surface texture, and highlighting the details better. Take the time to learn how to be good at all four of these photography techniques.4) The picture representing your work should be the best picture. More quilts are rejected from juried shows/magazines/books due to poor photography than any other reason! Remember, there is no asterisk (*) on your pattern, or on the juried show application, or the book proposal, for photo explanations like: “If it weren’t so sunny…,” If the wind wasn’t blowing so hard…,” “Please ignore my fingers and feet in the photo….,” “If only I had more time to take a better photo…,” or “If I could just get the color right… ,” etc. The buying public, the quilt judges, and the magazine and book editors all assume that the quilt image you present to them is an accurate portrait of your quilt, shown in its best light. Your quilt image is being compared to other’s images who have taken the time to make their image perfect. Make sure that your image lives up to their expectations!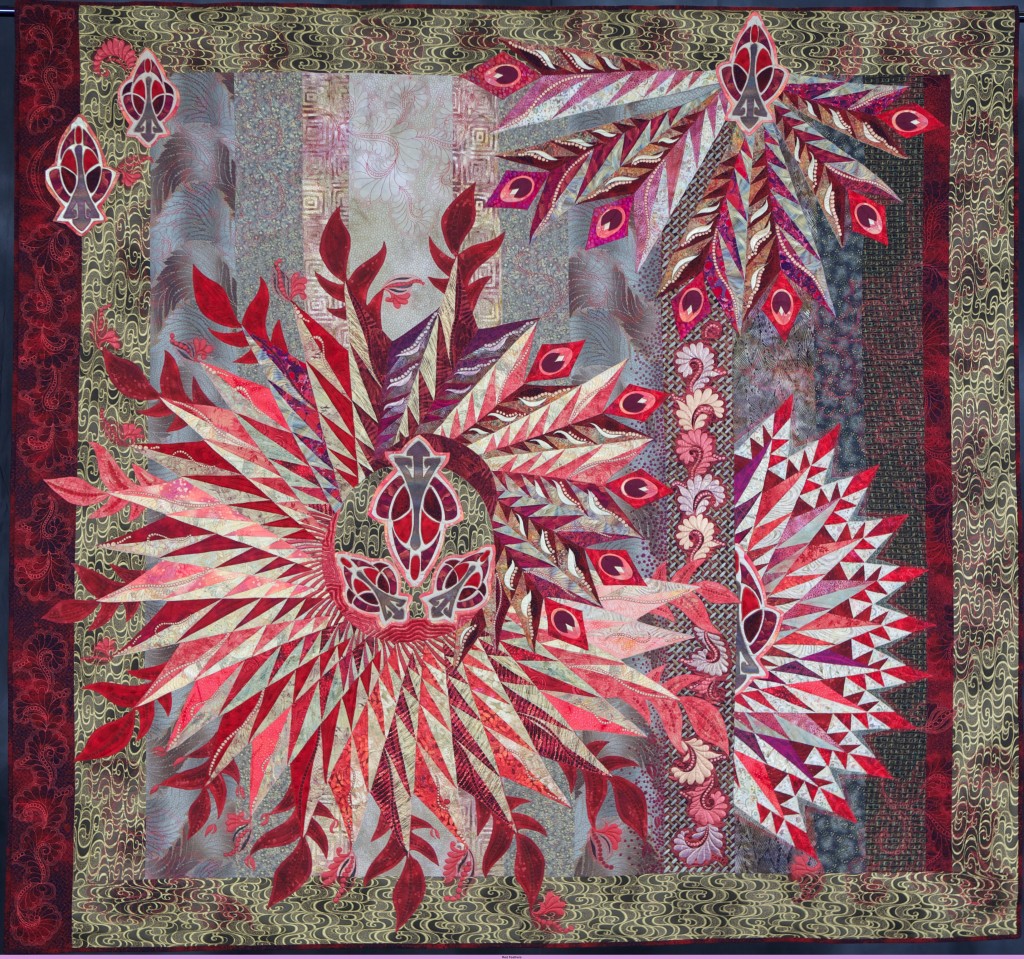
Best of Show 2013
5) Use available tools to edit your work. If you shoot with a digital camera, you really need to learn image-editing software (e.g., Adobe Photoshop Elements, Photoshop, and Lightroom). Some problems can only be solved with your digital camera and lighting, and some problems can only be solved with image-editing software—you need to employ both strategies.6) Practice. Practice. Practice. So, how do you get to be a better quilt photographer? Practice—a lot. Don’t wait until a deadline to start improving your quilt photography. Start practicing today and then again tomorrow and so on. I’ve been photographing quilts, textiles, and fiber art for 11 years and I work daily on improving my photography and image-editing skills. Take a quilt photography class, perhaps on the upcoming Road to California Quilt Cruise Around The Panama Canal. I will be teaching quilt photography and Photoshop Elements!
Tags: Gregory Case Photography, Lightroom, Photographing quilts, Photoshop, Photoshop Elements!